MS Outlook is showing errors like Outlook error 0x8004010f or Outlook data file cannot be accessed. In this condition, the first question comes in the user’s mind, why I’m getting this error.
Reason for the appearance of Outlook error message:
•Outlook profile is corrupted
•Outlook folders are moved across drives
In this article, I will tell you easy manual steps to fix Outlook error 0x8004010f or Outlook data file cannot be accessed. Whenever Outlook user tries to send or receive an email or message, then MS Outlook also provides the following error:
•Sending error 0x8004010F: Outlook Data File cannot be accessed.
•Receiving error 0x8004010F: Outlook Data File cannot be accessed.
Also Read: How to Fix Outlook error 0x800ccc13 in Microsoft Outlook
How to fix Outlook Data File Cannot Be Accessed or
Outlook Error 0x8004010f
Here is the entire process to resolve the Outlook error message :
• Install Ms Outlook data file
• Create a new Outlook profile
• Set the new Outlook profile as the default
Method 1:- Install MS Outlook data file
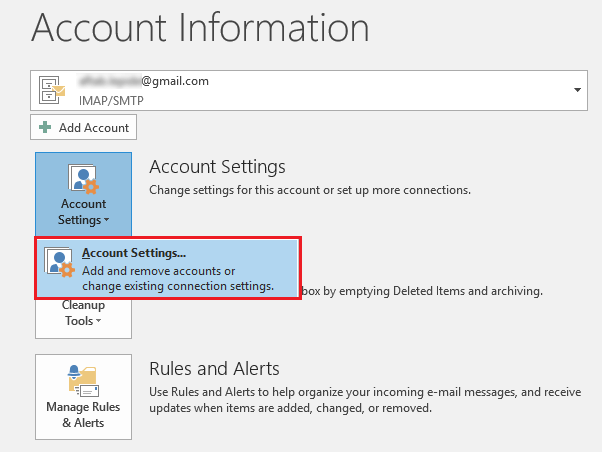
1. Open the MS Outlook application. Click on File and go to the Account Settings.
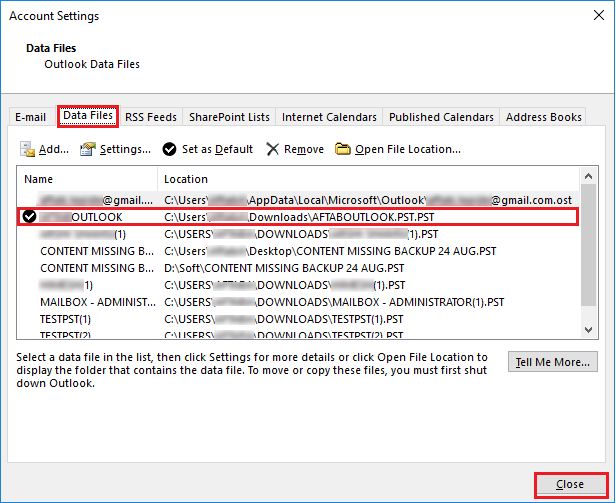
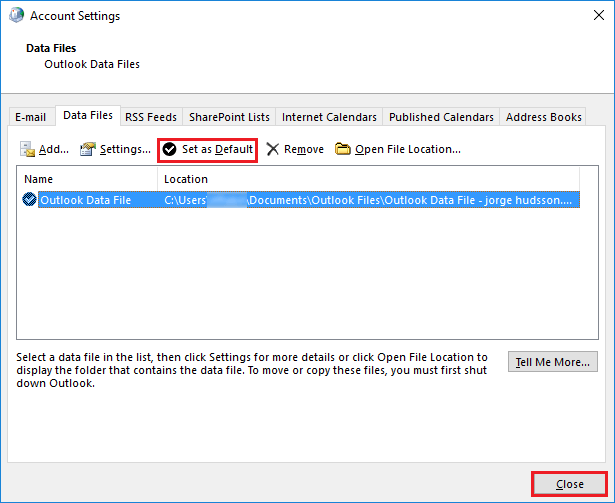
2. In the Account Settings, click Data Files button and note the name and location of the default MS Outlook data file (the default data file always have a checkmark before it).After that Click Close button.
Method 2:- Create a new Outlook profile
When you make a new profile using IMAP/POP3 account in Outlook, you can use two ways to create a new Outlook profile.
Use auto account setup to create a new profile in Outlook
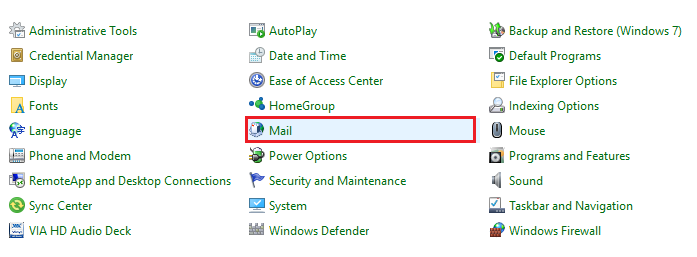
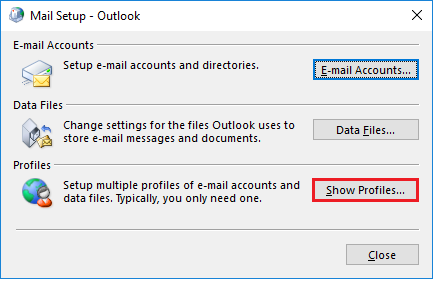
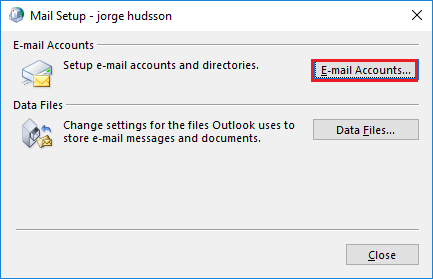
1. Click Control Panel, go to Mail tab. You will look Mail Setup – Outlook window.
2. In the Mail Setup – Outlook window, click on the Show Profiles tab.
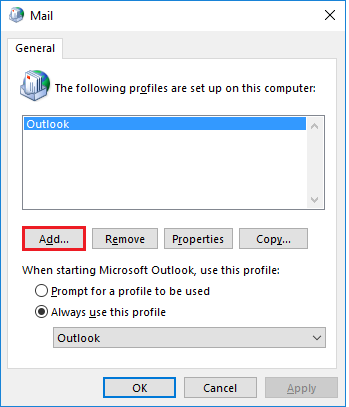
3. In the Mailbox, click Add button.
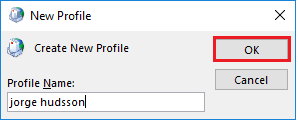
4. Write a new Profile Name in the New Profile window and then click OK button.
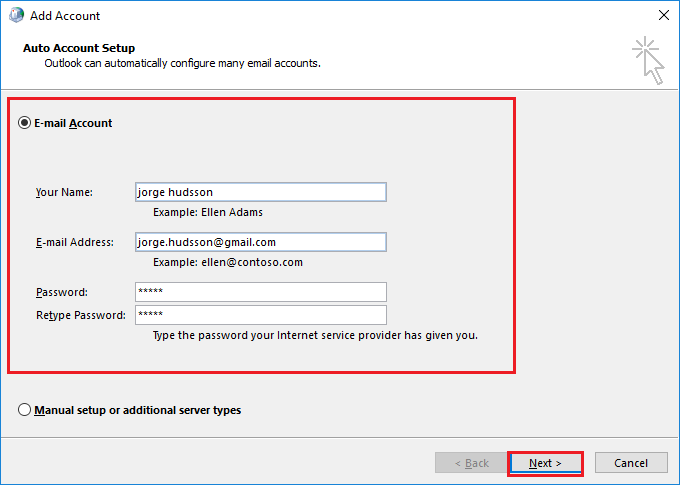
5. Input your account details in the Add Account window and click Next tab. The account is created.
Use the manual method to create a new profile in Outlook.
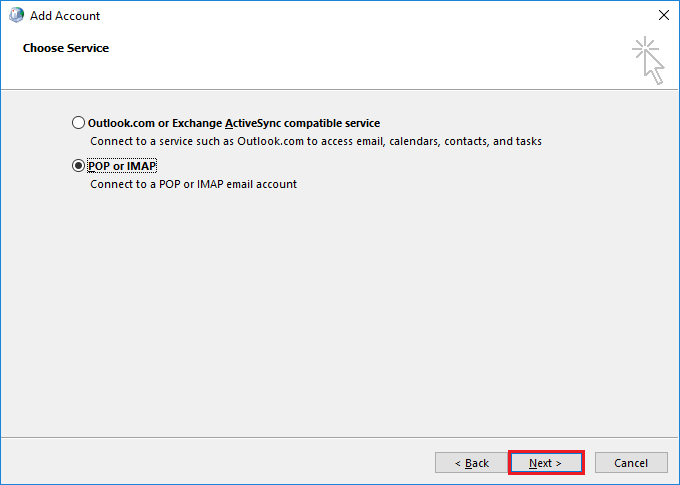
1. Choose the Manual setup or additional server types option In Add Account, then click the Next button.

2. Select POP or IMAP to connect to a POP or IMAP email account In Choose Service, and click the Next tab.
3. Input your user credentials in POP and IMAP Account Settings. Now under Deliver messages to, choose Existing Outlook Data File. Click the Browse button and, select the Outlook data file of the previous account then click on OK > Next.
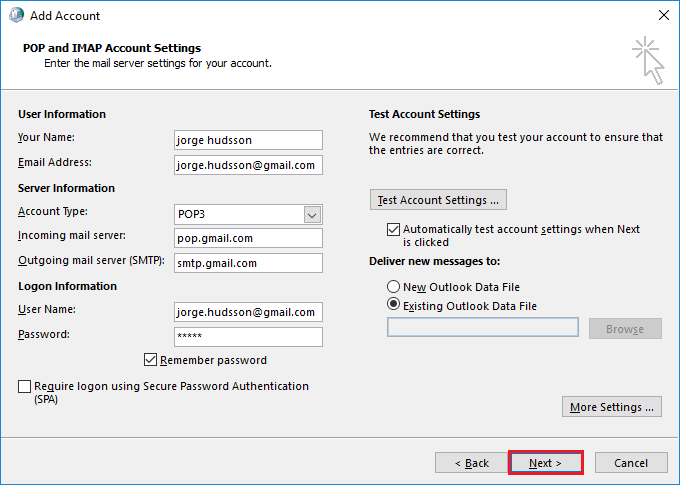
4. In the Test Account Settings, click Close and then Finish.
Method 3:- Set the New Outlook Profile as the Default
Follow the steps:-
1. Go to Control panel and click on Mail button
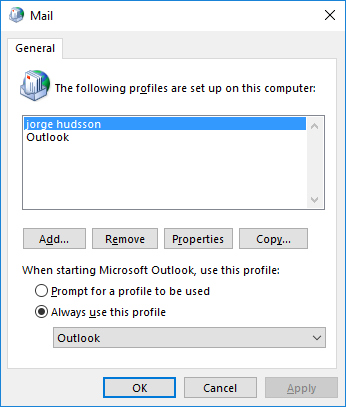
2. In the Mail Setup – Outlook click on Show Profiles.
3. In the Mail window, select the newly created profile, click the Properties button.
4. Click on Email Accounts tab in the Mail Setup windows.
5. Go to Data File and click on Set as Default in the Account Settings window and then click on Close button.
Now the new MS Outlook data file is created, and it will work without any problem.
Have a look at it: How To Fix The Error 0x800ccc1a In Microsoft Outlook
Resolve Outlook error 0x8004010f using Outlook PST Recovery Tool
To get rid of such errors completely, you need a third-party tool. Outlook PST Recovery Tool recovers all mailbox items like emails, calendars, contacts, notes, tasks as well as journal form corrupt Outlook PST file. It has an advanced method to find specific items based on various criteria like from, to, send date, receive date, etc.
An alternative solution
Visit here for the video tutorial:
Sum-Up:
I’ve told you the core reasons behind this Outlook error and way to resolve the error 0x8004010f. If the manual solution is not possible to perform then the tool is the best way to get out of such a situation to access the Outlook data file.